Are you a beginner looking to use an OBDII code reader to diagnose your vehicle’s problems? Don’t worry; it’s easier than you think. In this guide, we’ll take you through a step-by-step process on how to use an OBDII code reader.
Step 1: Locate the OBDII Port
The OBDII port is typically located beneath the dashboard on the driver’s side of the vehicle. Look for a port with 16 pins that resembles a trapezoid.
Step 2: Plug in the Code Reader
Once you’ve located the OBDII port, plug the code reader into it. You should hear a clicking sound to confirm it’s connected.
Step 3: Turn on the Vehicle’s Ignition
Turn on the ignition without starting the engine. This will power the code reader.
Step 4: Read the Codes
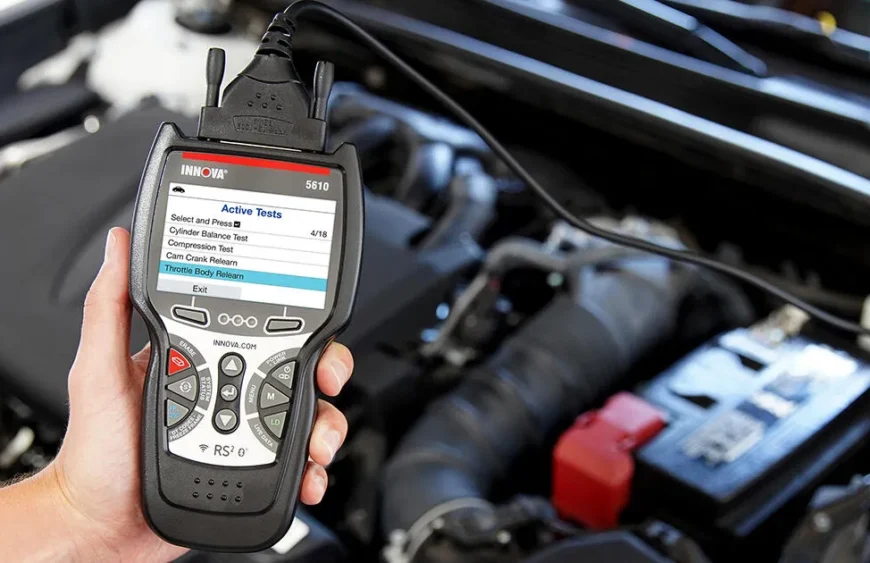
Press the “Read Codes” button on the code reader to initiate a scan. The device will communicate with your vehicle’s computer to retrieve any stored codes.
Step 5: Interpret the Codes
Once the code reader has retrieved the codes, it will display them on the screen. Look up the codes in the user manual or online to interpret them.
Step 6: Clear the Codes
If you’ve fixed the problem, you can clear the codes by pressing the “Clear Codes” button on the code reader.
Step 7: Disconnect the Code Reader
Once you’ve finished diagnosing your vehicle’s problems, disconnect the code reader from the OBDII port.
In conclusion, using an OBDII code reader is a simple and effective way to diagnose your vehicle’s problems. By following the steps outlined in this guide, you’ll be able to read and interpret the codes in no time. Remember, if you’re unsure about anything, always refer to the user manual or seek professional help.