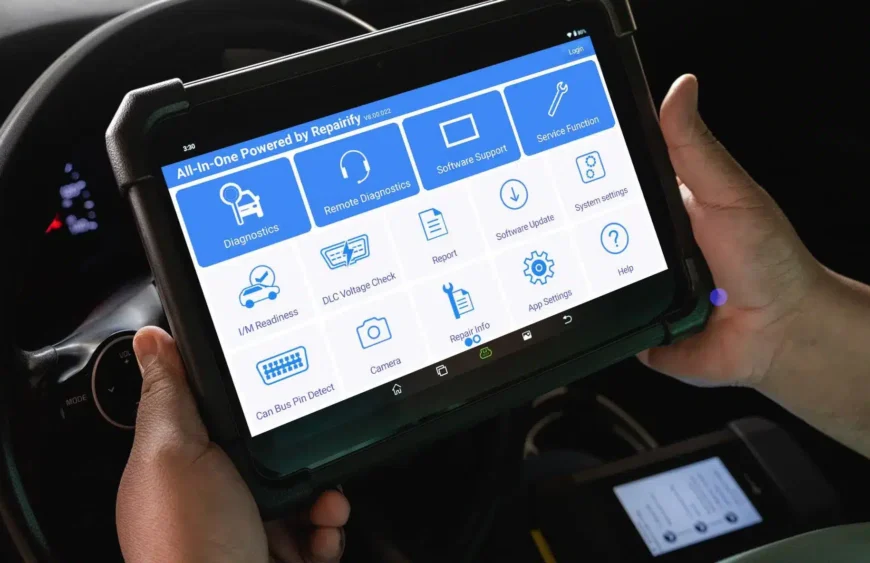
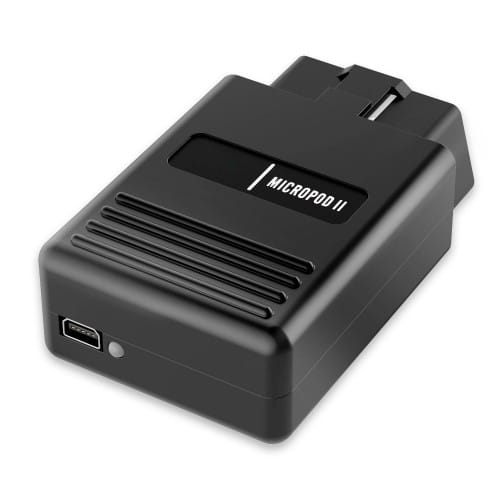
TL;DR: Use OEM scan tools in Mode 10 to quickly verify that repairs have fixed diagnostic trouble codes.
Introduction
In today’s automotive diagnostics, Mode 10 permanent codes play a crucial role in confirming that repairs are effective. These diagnostic trouble codes, especially the permanent ones, provide an in-depth view of a vehicle’s health even after standard repairs. Understanding and using these codes with OEM scan tools can help technicians avoid costly misdiagnoses and ensure that all issues have been properly addressed.
Requirements and Tools
Before beginning, gather all the necessary tools and safety equipment. You will need OEM scan tools that support Mode 10 functions. Recommended products include the 2023 Autel MaxiPro MP808S-TS Bidirectional Diagnostic Scanner and the [US Version] Autel Maxisys MS908CV Commercial Heavy Duty Diagnostic Tool, which are both reliable for in-depth vehicle diagnostics. In addition, ensure you have proper vehicle access, follow all safety precautions, and consult relevant reference materials such as vehicle service manuals. For additional tips, you can also check out this automotive troubleshooting guide for a broader understanding of diagnostic processes.
Understanding Mode 10 Permanent Codes
Mode 10 is specifically designed to retrieve permanent codes from a vehicle’s ECU. Unlike temporary codes, permanent diagnostic trouble codes (PDTCs) remain stored even if the battery is disconnected and can only be reset once the underlying issue has been addressed and confirmed. Some common permanent codes may indicate problems with the engine, transmission, or emissions systems. Recognizing the difference between temporary and permanent codes is essential for effective automotive troubleshooting and precise vehicle diagnostics.
Step-by-Step Guide to Using Mode 10 Codes
-
Step 1: Connect the OEM Scan Tool
Locate the vehicle’s OBD-II port, usually found under the dashboard. Connect your OEM scan tool securely to ensure stable communication with the vehicle’s ECU.
-
Step 2: Access Mode 10
Navigate through the scan tool’s menu to select Mode 10. This mode is typically grouped under the advanced diagnostic functions on many OEM tools.
-
Step 3: Retrieve and Interpret Codes
Once in Mode 10, retrieve the permanent codes. Pay close attention to each code’s description; cross-reference with the vehicle’s service manual to understand the nature of the fault.
-
Step 4: Confirm Repairs
After repairs have been made, use the scan tool to confirm that the issues signaled by the permanent codes have been resolved. This crucial step verifies the success of the repair work.
-
Step 5: Reset or Clear Codes
If the scan tool allows, clear or reset the codes to ensure that no old issues remain stored in the ECU memory.
Performing a Drive Cycle to Validate Repairs
A drive cycle is a series of driving conditions that allow the vehicle’s systems to self-check and recalibrate. After resetting the codes, conduct a proper drive cycle to verify that the vehicle’s performance has returned to normal. Follow the manufacturer’s recommendations for speed, duration, and route to obtain accurate diagnostics, ensuring no hidden issues persist.
Troubleshooting Common Issues
If Mode 10 codes do not clear even after thorough repairs, consider the following troubleshooting steps:
- Faulty Sensor Readings: Verify that all sensors related to the reported trouble codes are working correctly. A malfunctioning sensor can mislead the diagnostic process.
- Incomplete Repairs: Revisit the repair steps to ensure that all issues have been properly fixed. Sometimes overlooked components can continue to trigger PDTCs.
- Software Glitches: Occasionally, the ECU software may not correctly update even after repairs. In this case, a firmware update or ECU reprogramming might be necessary.
FAQs
How do I clear permanent engine codes?
Permanent engine codes typically require both repair confirmation and a proper reset using the OEM scan tool. Follow the manufacturer’s procedure carefully to ensure that the code is erased.
How can I reset the ECU to remove permanent codes?
Many modern OEM scan tools include an ECU reset feature. This should only be performed after all repairs are confirmed to avoid masking unresolved issues.
How do I know if a permanent code is cleared?
A permanent code is cleared when it no longer appears during subsequent scans after a repeat drive cycle. Consistent readings across multiple diagnostics ensure that repairs were successful.
Conclusion and Call to Action
Mode 10 permanent codes are an invaluable asset in achieving reliable vehicle diagnostics. By using OEM scan tools to retrieve and interpret these codes, technicians can confidently confirm that their repair efforts have resolved the issues. With a clear understanding of diagnostic trouble codes and a systematic approach to troubleshooting, automotive professionals can enhance repair accuracy and customer satisfaction.
If you found this guide helpful, please consider subscribing to our newsletter or contact us for further assistance and advanced diagnostic solutions. Stay informed and keep your vehicles running at peak performance.
Written by Alex B., ASE Master Tech


